
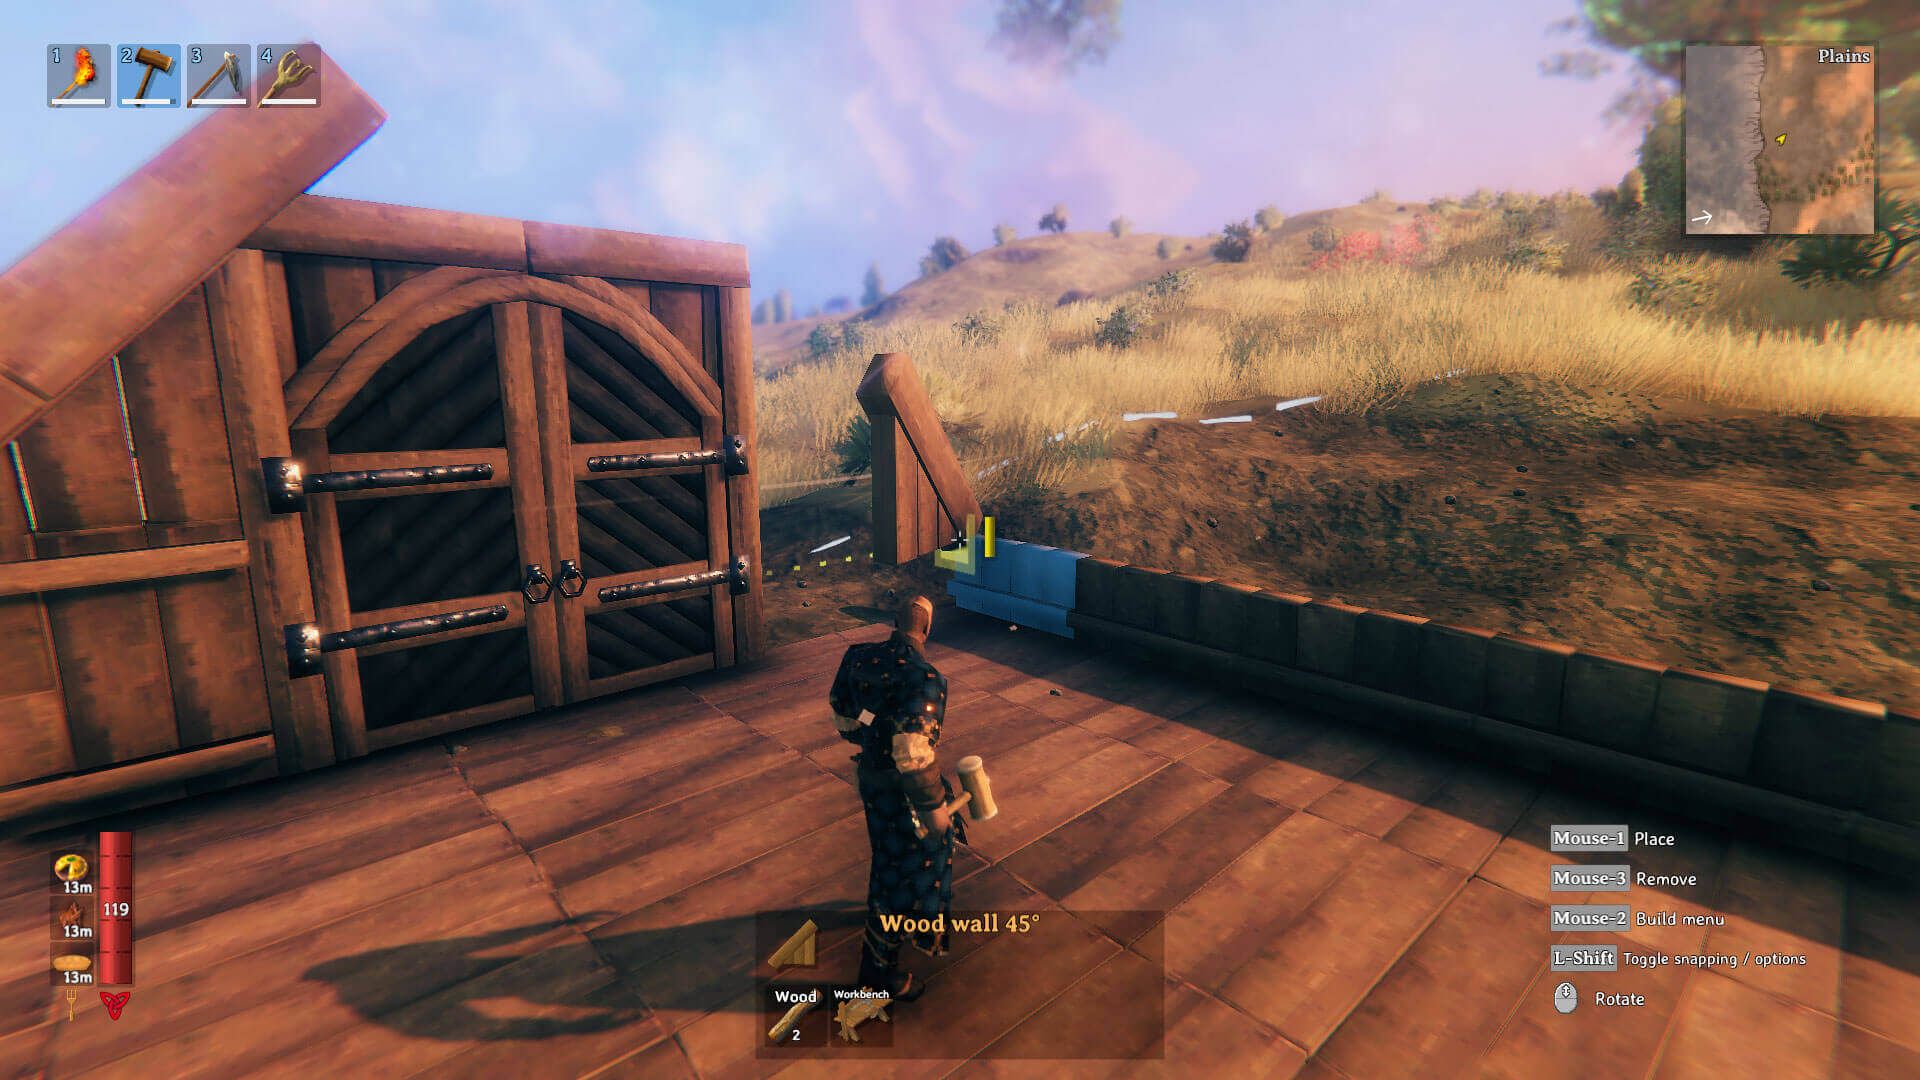
Valheim progression order
Valheim's intended route is Meadows → Black Forest → Swamp → Mountains → Plains → Mistlands → Ashlands → Deep North. Each boss unlocks the tool, key, station, or world state needed to make the next biome manageable. Food and resistance preparation matter as much as the next armor set.
| Biome | Boss | Main checkpoint before moving on |
|---|---|---|
| Meadows | Eikthyr | Shelter, Workbench, bow, food loop, Antler Pickaxe |
| Black Forest | The Elder | Bronze tools, Forge, portals, Cauldron, Swamp Key |
| Swamp | Bonemass | Iron gear, poison resistance, upgraded food, Wishbone |
| Mountains | Moder | Frost protection, silver gear, Dragon Tears |
| Plains | Yagluth | Black metal, barley and flax, Artisan Table chain |
| Mistlands | The Queen | Wisplight route, Eitr crafting, Black Forge and Galdr Table |
| Ashlands | Fader | Flametal-tier preparation and the Eternal Pyre handoff |
| Deep North | Kall Fimbulbringer | Bloodgold route, Mörkhalla invasions, final boss |
Meadows: establish the survival loop
Collect wood and stone, make a Stone Axe and Hammer, then place a covered Workbench. A bed needs shelter and a nearby fire; indoor smoke also needs a way out. Eat three useful foods, keep the Rested buff active, and repair equipment for free at the correct station.
Explore the coast for flint, hunt deer for hides, and build a bow before Eikthyr if ranged combat feels safer. The first boss provides the material for the Antler Pickaxe, which turns Black Forest copper and tin into the next progression gate.
Black Forest: bronze, portals, and the Swamp Key
Clear Burial Chambers for Surtling Cores, then build a Smelter and Charcoal Kiln. Copper plus tin becomes bronze at the Forge. Prioritize the Bronze Axe for Fine Wood; Fine Wood unlocks important travel and crafting options, including the Karve and portals.
Build a Cauldron and start farming carrots. Metal cannot pass through a normal portal, so plan a cart or ship route before mining far from home. Defeat The Elder only after reliable food, upgraded weapons, and a return path are ready; the Swamp Key opens Sunken Crypts.
Swamp: iron and poison preparation
The Swamp is permanently wet, which makes stamina management harder. Enter with the Rested buff and Poison Resistance mead. Use the Swamp Key on Sunken Crypts to collect Scrap Iron, and expect to search more than one swamp for enough crypts.
An Iron Mace is a practical Bonemass weapon because the boss and several swamp enemies dislike blunt damage. Farm turnip seeds, upgrade the Cauldron, and keep spare poison supplies for a corpse run. Bonemass drops the Wishbone used to locate buried silver in the Mountains.
Mountains: frost, silver, and Moder
Do not enter a long Mountain route without Frost Resistance mead or protective wolf gear. Use the Wishbone to locate silver and an Iron Pickaxe or better to mine it. Carry stamina food because steep terrain makes exhaustion and fall damage part of the biome's threat.
Drakes make a bow essential, while starred wolves make night travel unusually dangerous. Moder's Dragon Tears unlock the Artisan Table chain needed for Plains processing, so do not move on with only the trophy and no safe way to transport it home.
Plains: black metal and agriculture
Place the Artisan Table to unlock the stations needed for Plains resources. Fulings supply Black Metal Scrap; villages contain flax and barley, which can only be grown in the Plains. Establish a defensible farm before consuming the last seeds.
Collect five Fuling Totems to summon Yagluth. Deathsquitos punish careless travel, and villages punish fighting too many enemies at once. Defeating Yagluth enables the wisp-based route into Mistlands visibility.
Mistlands: visibility and Eitr crafting
Use a Wisp Fountain and Wisplight to clear the mist around the player. Bring a Blackmetal Axe and Pickaxe for new resources, mark Dvergr structures before starting fights, and search Infested Mines for Black Cores and progression items.
Build the Black Forge and Galdr Table, then choose between carapace equipment, magic, and hybrid options. Mistlands terrain makes stamina food and vertical escape routes especially important. The 1.0 Grappling Hook guide covers the hidden-mine item that improves this traversal.
Ashlands: secure the handoff to 1.0 endgame
Ashlands travel, heat, enemy density, and siege objectives require a prepared landing rather than a quick scouting trip. Establish a protected portal, upgrade food and armor, and complete the Fader route before treating the Deep North as the next ordinary biome.
Fader's progression drop enables the Eternal Pyre, which attracts Embers needed by Deep North crafting. Build and use that system before sailing north; the final biome does not supply its own Embers.
Deep North: stations, invasions, and Kall
Start with a safe coastal portal, clear Winding Tunnels for Frost Cores and moulds, and turn Petrified Gammeltroll tissue into Bloodgold. Build the Frigid Kiln and Frost Foundry, craft Intricate Keys, then unlock Mörkhalla and complete three Jotun Invasions.
Three Malicious Blood open the Aesir Passage route to Kall Fimbulbringer. The Deep North guide covers this resource chain; the Kall guide keeps the three-phase boss mechanics separate.
Universal checklist before the next biome
- Carry three current-tier foods and refresh the Rested buff.
- Upgrade the station that repairs the chosen equipment.
- Prepare the biome's resistance mead or protective armor.
- Place the return portal before opening a dungeon or boss arena.
- Keep a spare ship, portal pair, and recovery food at home.
- Mark ore, crops, dungeons, traders, and boss sites on discovery.
The common progression mistake is rushing armor while neglecting food, stamina, transport, and recovery. A lower-tier weapon in a prepared route is safer than top-tier gear stranded behind an unplanned corpse run.
Sources and review date
Last checked: September 17, 2026.